Si estás pensando en hacer algún cambio en tu cocina y no es precisamente grande, hoy te damos unos cuantos trucos con este ejemplo real:
La caldera de esta cocina estaba a punto de “morir” y fue determinante en el cambio radical que vas a ver: tener que cambiar de caldera atmosférica a estanca suponía hacer agujeros, picar azulejos y mover el frente de la cocina, por lo que los dueños se decidieron, muy a su pesar, -ya que los muebles de IKEA estaban en perfecto estado- a renovar totalmente esta cocina y hacerla más práctica y funcional.
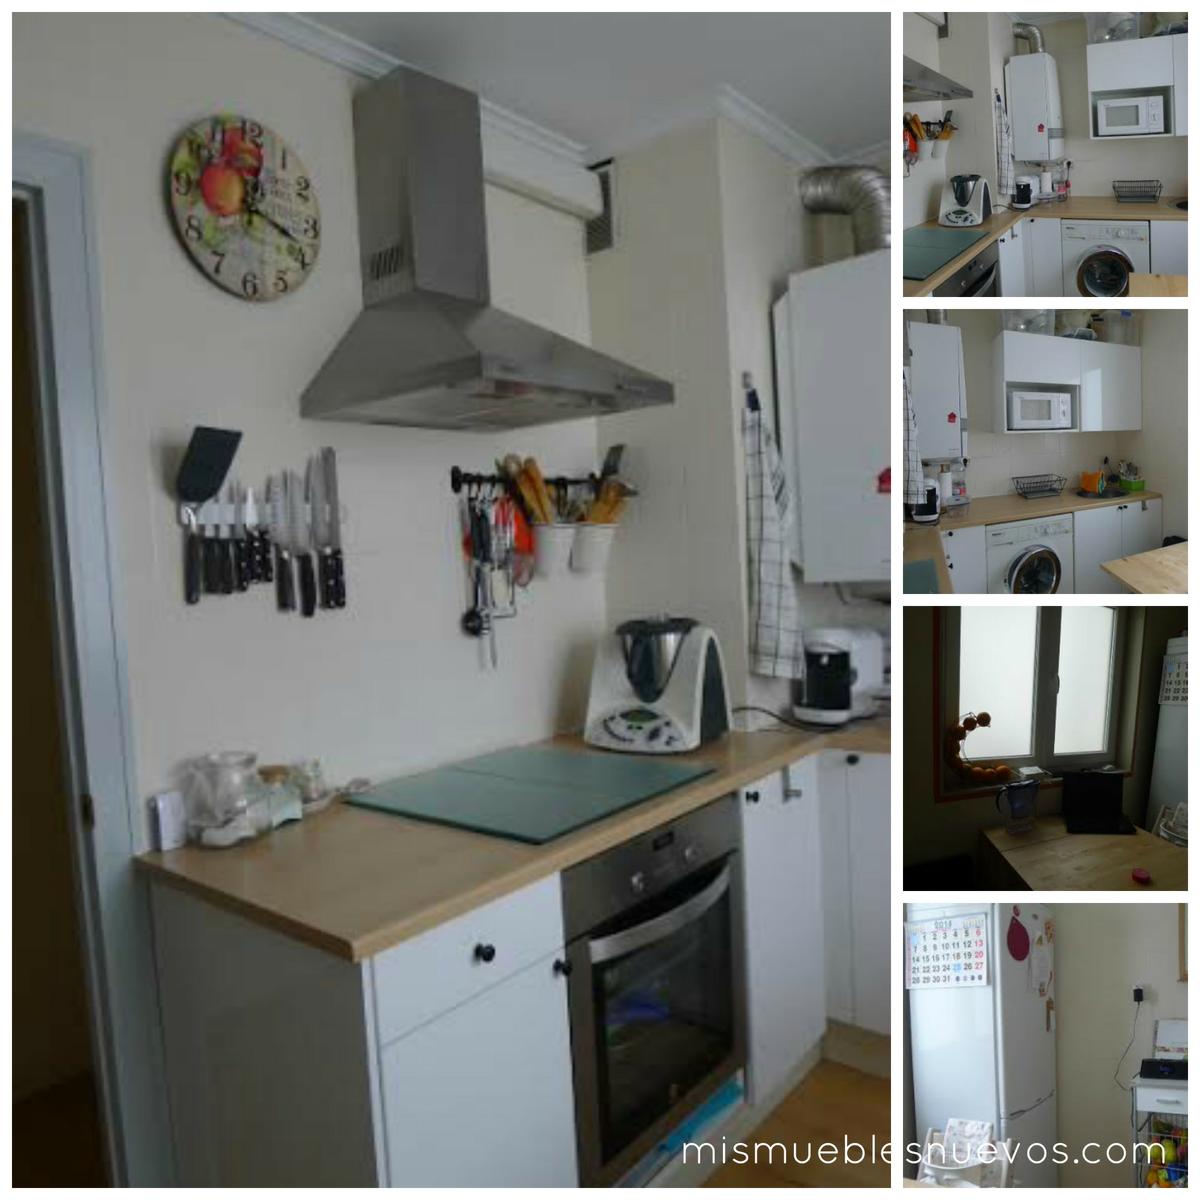
No se aprecia muy bien en las fotos (las hice con móvil), pero la cocina antigua carecía de espacio de almacenamiento, los azulejos originales (40 años) habían sido pintados en un color beige y se había colocado sobre el suelo original un suelo laminado que no es precisamente lo más apropiado para una cocina, puesto que los laminados no soportan del todo bien el agua…
Fotos del antes:
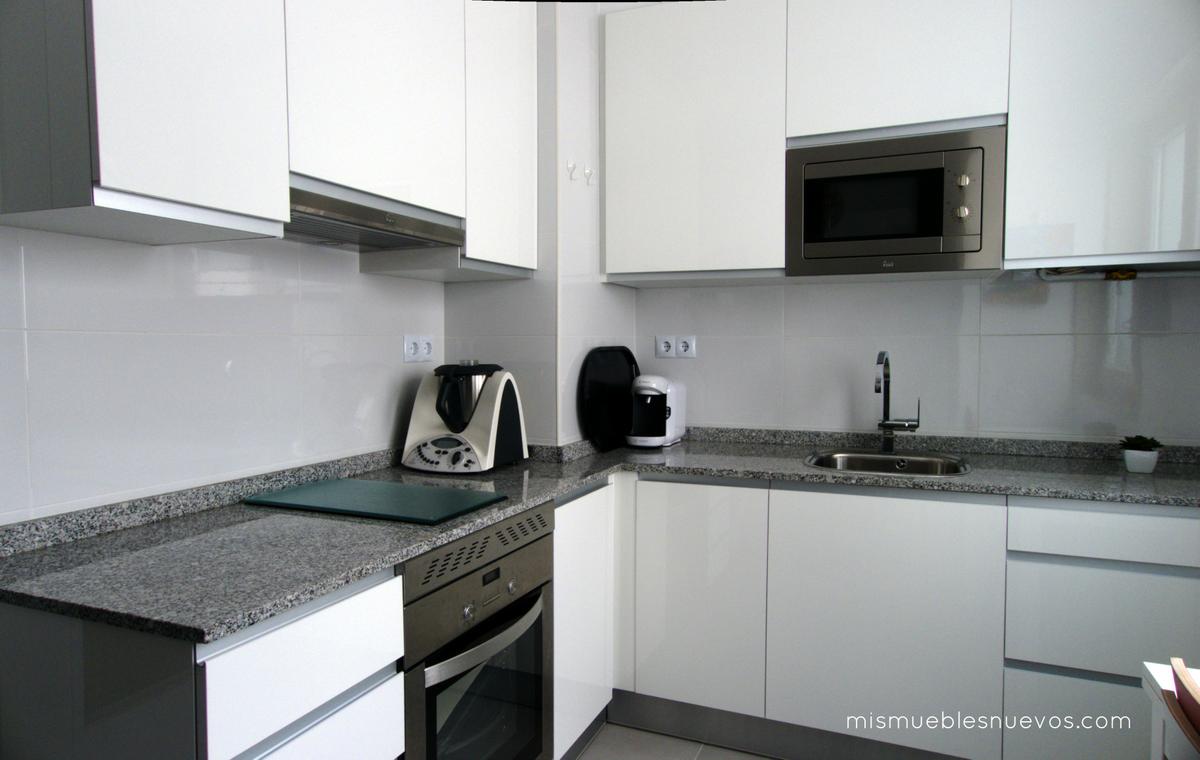
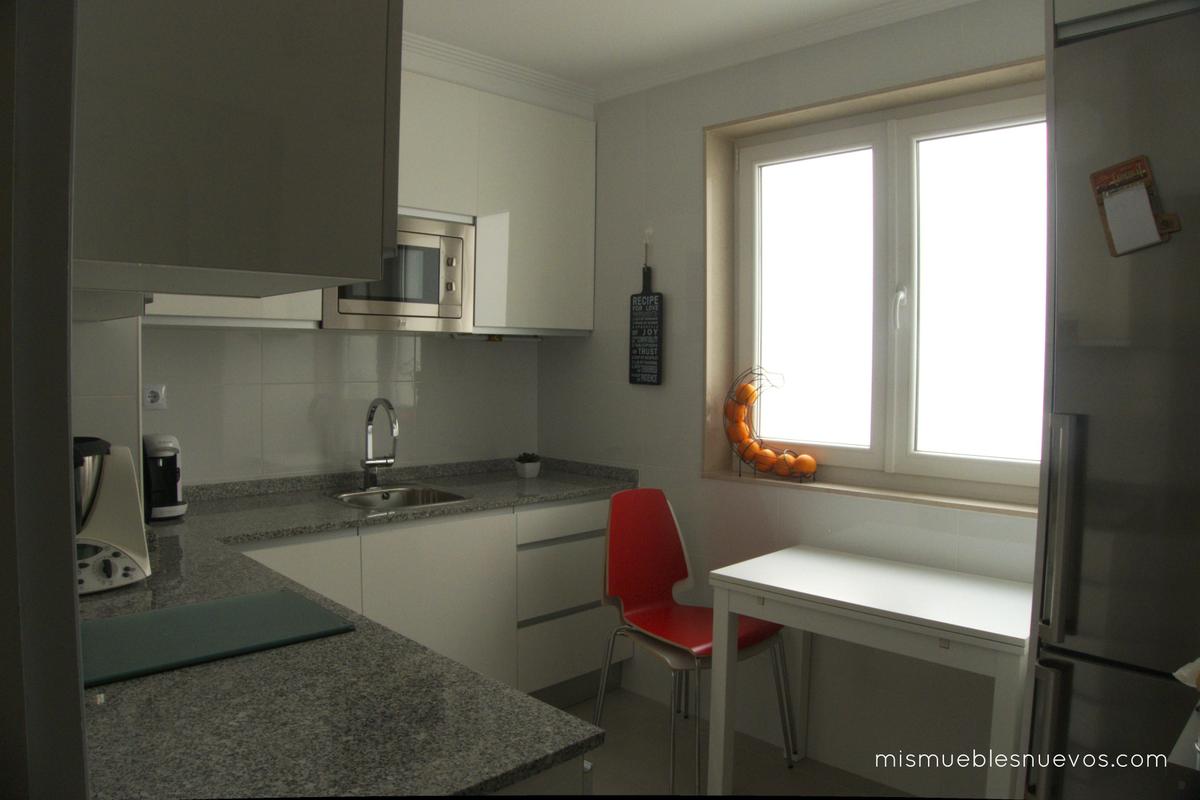
Las funcionalidades ya estaban muy condicionadas por tema de salida de humos y de la gran ventana doble, así que lo quería la propietaria (tener encimera justo delante de esa ventana para trabajar con luz natural) fue imposible. A pesar de esto, la cocina ganó muchísimo con estos cambios:
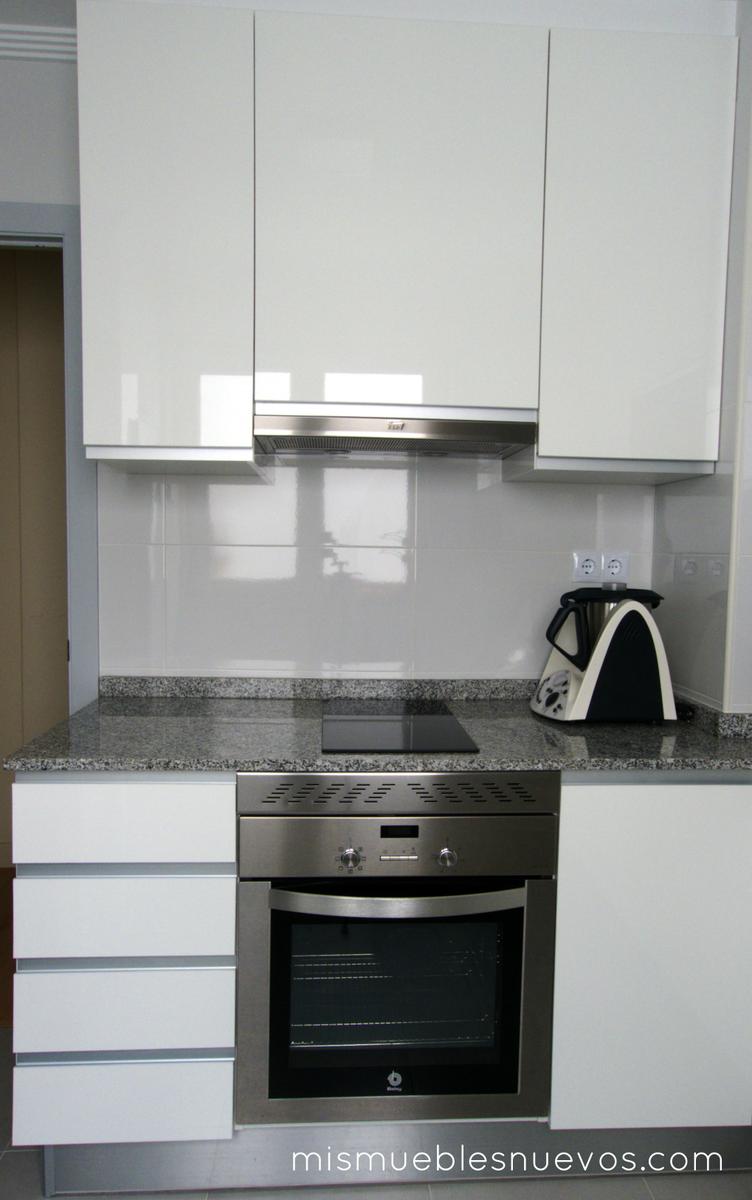
1) Se colocó una campana extraíble que permite aprovechar el hueco de encima como armario y hacer dos armarios adicionales. Aquí primó lo práctico sobre lo bonito, qué duda cabe que una campana al aire es mucho más vistosa…
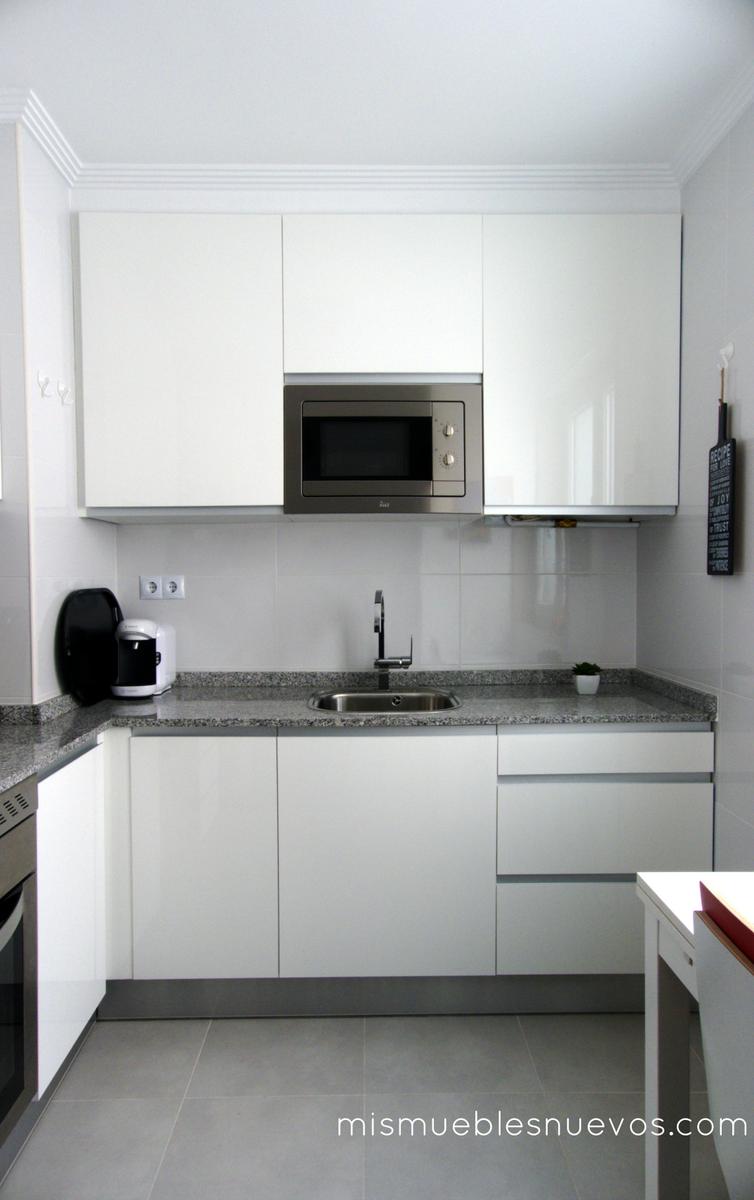
2) Se hizo que los armarios llegaran hasta el techo con remate de escayola moderna, que evita huecos innecesarios que sólo acumulan polvo.
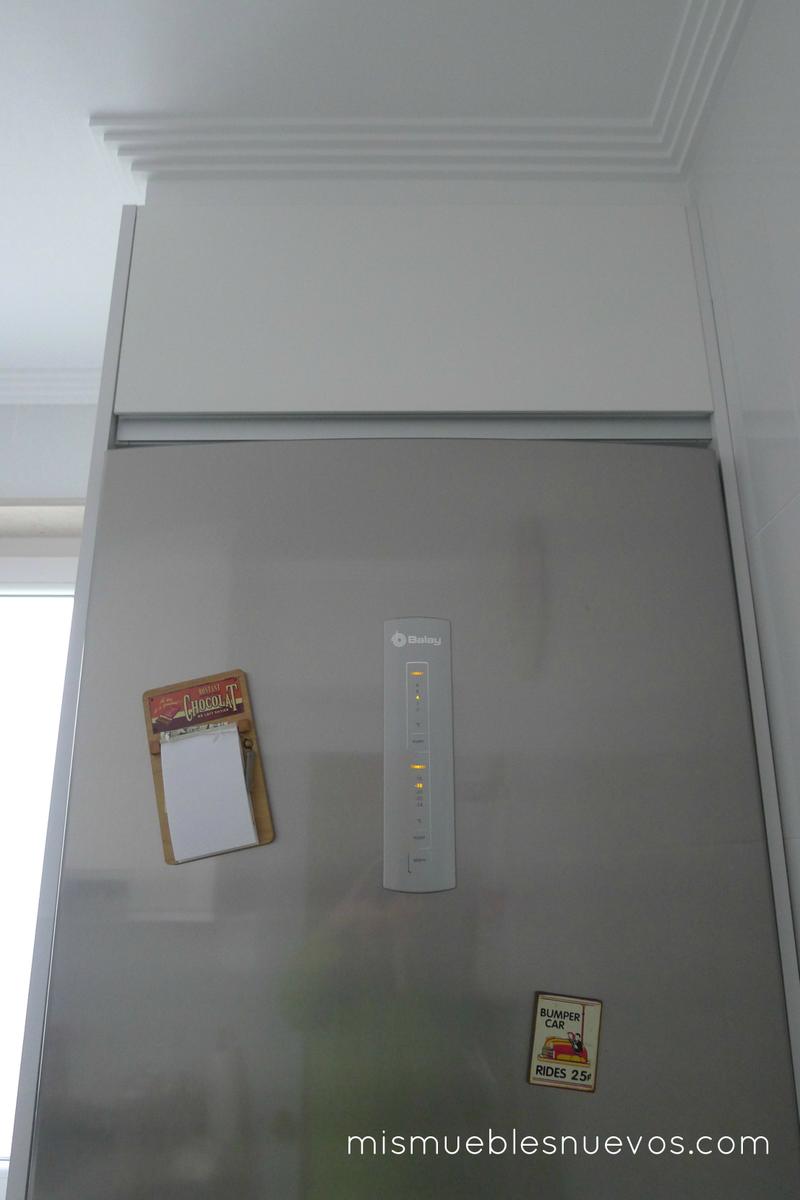
3) El nuevo combi mide 70 cm en vez de los típicos 60 cm de ancho. Es una diferencia que se nota un montón en cuanto a capacidad; ¡si hay espacio suficiente merece la pena gastarse un poco más!
Combi de 70 cm de ancho
4) Aparte de optar por muebles en color blanco y acabado brillante, que hacen que la luz se refleje y dé sensación de amplitud, se pusieron tiradores integrados (“uñeros”), que ópticamente también despejan los espacios. La mesa es extensible de IKEA, así como las sillas, cómodas pero apilables.
Hasta aquí todo normal, pero es que además:
–Truco mágico número uno: Se pasó la lavadora a la habitación contigua, que es la del tendal, cuarto de plancha, despensa… (un poco de todo). De esa manera se consiguió hueco suficiente para tener cajonera/gaveta, poder colocar el fregadero en mitad de la encimera y no arrinconado contra una pared y se pudo hacer más accesible el primer armario bajo a la izquierda junto a la viga de la salida de humos.
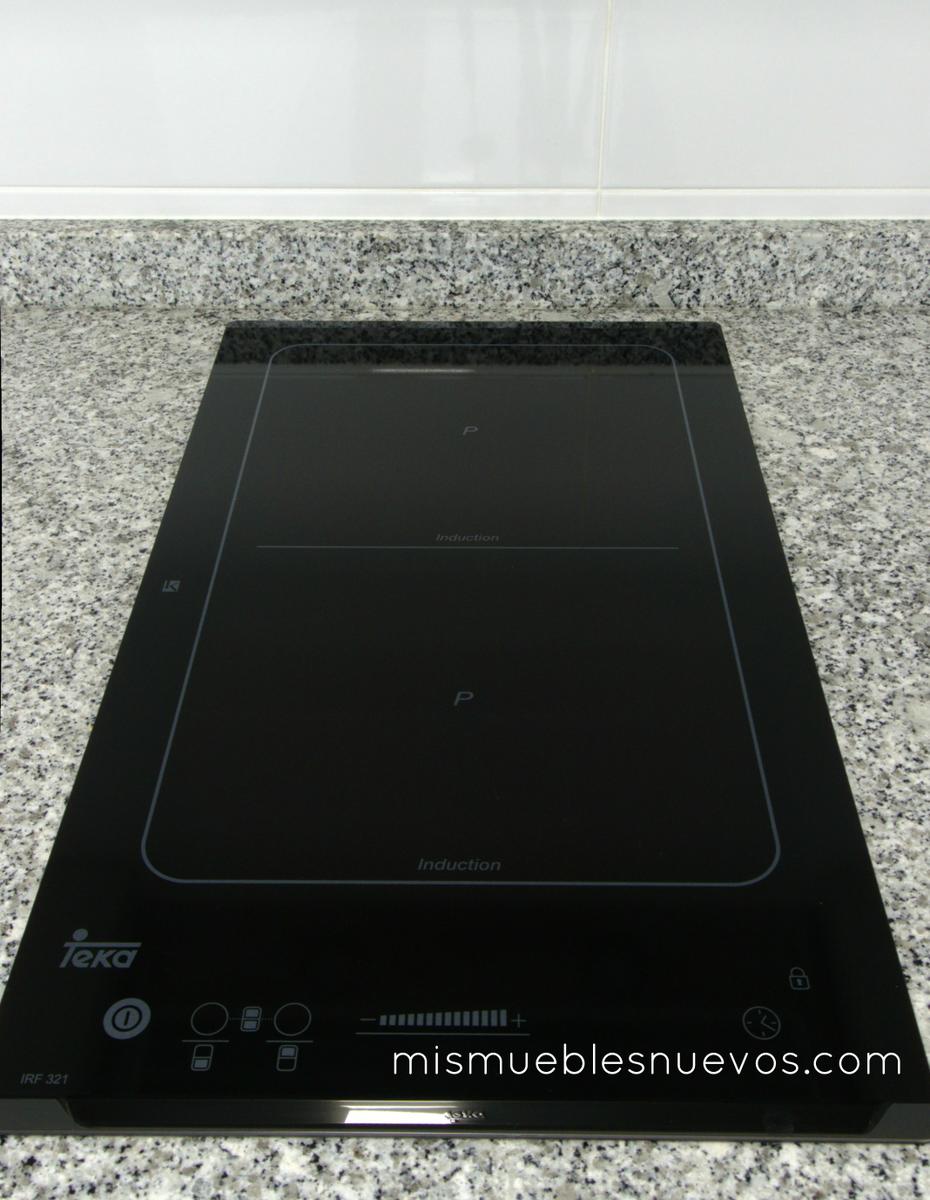
–Truco mágico número dos: se le dio menos importancia a la placa de inducción ya que se cocina mucho más con el robot Thermomix, por lo que, en vez de ocupar toda la encimera izquierda con una placa de 60, se colocó una flexible (de las que cogen la forma de la cazuela) pero con 30 cm de ancho.
Placa flexible – sólo 30 cm de ancho
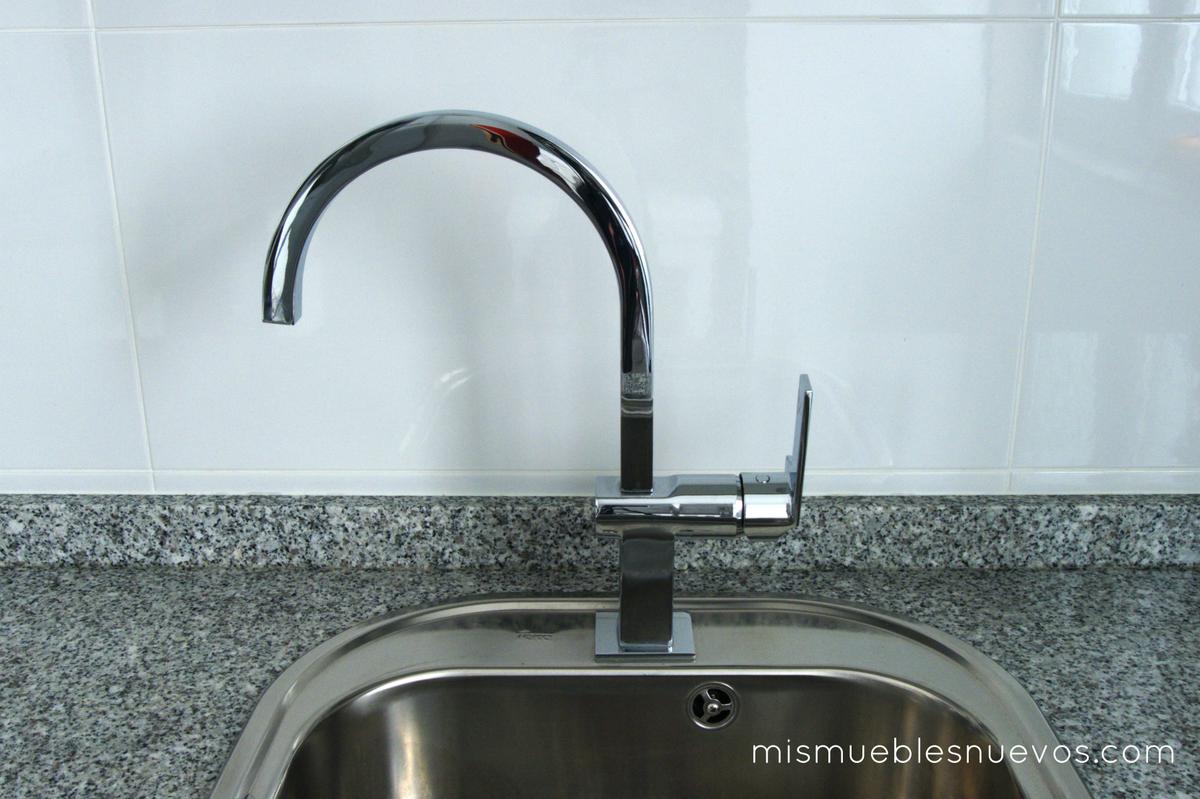
Detalles:
Algo de color y una receta para no olvidar
Si os estáis preguntando qué pasó con la cocina “vieja”, se desmontó con mucho cuidado y la aprovecharon unos amigos. Los dos armarios que quedaron se han colgado de una pared en el garaje. Se ha aprovechado prácticamente todo, y lo demás… ¡siempre al punto limpio!
¡Espero que os haya resultado útil!
Hasta pronto,
Laura
A modern and functional kitchen
If you’re trying to decide the best layout for your new kitchen and you don’t have that much room, we’re giving you some tips today with one of our makeovers:
Although the IKEA furniture was in mint condition, the boiler of this kitchen was dying, and that was the reason for the whole transformation: changing from an airtight boiler to a condensing one meant moving it to the opposite wall and also moving the upper cabinets around, making new holes on the 40-year-old tiles.
The owners decided to have everything refurbished because when they bought the flat they found the original wall tiles had been painted over and the floor ones had been covered with laminate flooring (not the most suitable material to endure water and food spills). On top of this, there was little room for storage and just one tiny drawer.
This is the kitchen before remodelling, nice and warm but not too practical:
Working areas were quite conditioned by the fume ventilation beam and the wide window, so the layout couldn’t be completely altered. In spite of this, the kitchen gained plenty of storage room without compromising the spacious feeling it had before:
1) By installing a telescopic slide out hood, the whole area over it could be filled with cabinets. It definitely doesn’t look as classy as a chimney extractor hood, but the priority here was storage room.
2) The top cabinets go now to the ceiling with a modern molding finish that keeps dust away.
3) The new fridge freezer is not the standard size but 10 cm wider, which makes a big difference in terms of capacity, worth spending a little extra money on!
4) High-gloss white cabinetry makes the light reflect and gives a spacious feeling, which increases when you “take off” the handles and use hidden ones instead. The extendable table is Bjursta by IKEA and the stackable chairs are very comfy (Vilmar, by IKEA too).
So far we’ve presented you with some common storage solutions, but here go the ones that have made the kitchen much more functional:
Magic trick #1: We moved the washing machine out of the kitchen, and placed it on the other side of the wall. That room is an all-purpose room: laundry, larder… By doing this, we got enough room for some drawers, we could move the sink to the middle of the countertop (so much more comfortable!) and we could make a practical cabinet out of the first (left) unit, which was narrow and a real pain before.
Magic trick #2: Since the owners primarily cook with the Thermomix (R) robot, they didn’t need a whole 4-zone induction cooktop. Instead, a 2-zone flexible one was installed, which reduced the cooktop area by half and allowed a more generous working space on the counter. If you use a cooktop cover, the whole countertop will be yours!
If you’re wondering what happened with the old kitchen, it was completely very carefully dismantled and some friends took it home. The couple of spare cabinets now hang on the garage wall, so everything has been given good use. As for the rest… always to the local waste facilities!
Until soon,
Laura


